We prioritize learning in this tutorial, rather than getting a WordPress deployment up and running as quickly as possible, so we’ll take things slow. We’ll start off with the simplest possible deployment, and eventually grow it into a fully fledged multi-node, highly available and scalable WordPress setup.
Note: all code samples from this section are available on GitHub.
Our first deployment will simply run the official WordPress container image from DockerHub. We will then expose the HTTP port of this container using a Kubernetes Service, making it available outside the cluster. We’ll confirm we can access the WordPress readme.html file. Finally, we’ll add a second container to our existing Pod for our database service, and connect the two together.
Running a WordPress container
The official WordPress images on DockerHub come in varoius flavors, but we’ll stick to the simplest one for our current use case – the Apache version. This container will run the Apache web server, capable of executing PHP code. It will also download a fresh copy of WordPress core files ready to be installed.
You’ll typically use Deployments, StatefulSets and other Kubernetes abstractions to create Pods, but for simplicity here we’ll just create a Pod directly. In an empty folder, create our first pod.yml manifest file with the following contents:
apiVersion: v1
kind: Pod
metadata:
  name: wordpress
  labels:
    app: wordpress
spec:
  containers:
  - name: wordpress
    image: wordpress:6.5-apache
    ports:
    - containerPort: 80
Let’s break it down. The first couple lines specify what kind of object you’ll want to create in Kubernetes.
The metadata section tells Kubernetes that the name of our pod is going to be wordpress (we’ll be able to address the pod by name later), and will also attach one label to our pod, with the key app and the value wordpress. This label is important and will allow our service to correctly identify which pod to route traffic to.
Next we have the spec section, with the specification for our Pod. Here we define a single container named wordpress with the WordPress image, and a single containerPort for our HTTP port 80.
We can go ahead and create this pod by applying the pod.yml manifest with kubectl:
$ kubectl apply -f pod.yml
Let’s now look at the pods in our cluster:
$ kubectl get pods
NAME        READY   STATUS    RESTARTS   AGE
wordpress   1/1     Running   0          6s
Note that the status might be stuck at ContainerCreating for a while as Kubernetes will need some time to pull the image from DockerHub.
After the container is Running, we can already access it from within the cluster, using curl for example. We can find out the IP address of the pod with kubectl using the -o wide flag:
$ kubectl get pods -o wide
NAME        READY   STATUS    RESTARTS   AGE     IP            NODE   NOMINATED NODE   READINESS GATES
wordpress   1/1     Running   0          4m25s   10.1.134.84   k1     <none>           <none>
In my example above, the pod is running on the k1 node and is using the 10.1.134.84 IP address in the cluster. Let’s SSH into any of the Kubernetes nodes in the cluster and request some data from that IP:
$ ssh k1
$ curl -v -o /dev/null 10.1.134.84/readme.html
* Connected to 10.1.134.84 (10.1.134.84) port 80
> GET /readme.html HTTP/1.1
< HTTP/1.1 200 OK
< Server: Apache/2.4.57 (Debian)
I’ve omitted some of the output for brevity, but we can see here that the IP address accepts our connection on port 80, and responds to our HTTP request with the contents of the readme.html file.
This is good progress, but we’ll want that pod accessible from outside of our Kubernetes cluster. We’ll also want it to have a more predictable IP address since Pod addresses are throw-away in Kubernetes and will change during restarts, crashes, etc. This is where a Kubernetes Service component will help us out.
Creating a Service
There are a few different types of services for different use cases and we’ll work with a few of them throughout this tutorial. We’ll use a simple NodePort service here, which will expose our Apache port 80 over a specific port across all nodes in our Kubernetes cluster.
Let’s create our service.yml manifest in the same directory with the following contents:
apiVersion: v1
kind: Service
metadata:
  name: wordpress
spec:
  type: NodePort
  ports:
  - port: 80
    nodePort: 30007
  selector:
    app: wordpress
The first few lines, as you may have already guessed, define the Kubernetes object type and some metadata about the service. The spec defines the service type, the port mapping and our selector.
The service type is set to NodePort, which allocates a port (that we specify later) on every Node in the Kubernetes cluster. Every node in the cluster will be able to receive traffic on this port, and will handle the forwarding to our pods accordingly. This type of service is not recommended production deployments and we’ll cover some better options in later sections, but for development and testing purposes NodePort services are great.
The ports mapping specifies which container port we’d like to map to (the HTTP port 80 in our case), and the nodePort we’d like to use. The node port has to be unique for the cluster and in a specific range (30000-32767 by default). If not specified, Kubernetes will allocate a random port from that range automatically on service creation. We use the port 30007 in our example.
Finally, the selector is where we define which Pods should this service direct traffic to. We do this using labels, and in the example above we tell the Kubernetes service to find all pods with a label with the key app and the value wordpress.
Let’s now create this service with kubectl:
$ kubectl apply -f service.yml
And look at our services list:
$ kubectl get services
NAME         TYPE        CLUSTER-IP      EXTERNAL-IP   PORT(S)        AGE
kubernetes   ClusterIP   10.152.183.1    <none>        443/TCP        6d16h
wordpress    NodePort    10.152.183.95   <none>        80:30007/TCP   5m36s
You should see the new wordpress service with the NodePort type, and port 30007 mapped to port 80. Don’t worry about the Cluster or External IPs for now, we’ll touch on these in later sections. After the service has been created, we should be able to access our WordPress installation through the exposed port on any of the Kubernetes nodes from outside the cluster:
$ curl -v -o /dev/null k0:30007/readme.html
* Connected to 192.168.1.120 (192.168.1.120) port 30007
> GET /readme.html HTTP/1.1
< HTTP/1.1 200 OK
< Server: Apache/2.4.57 (Debian)
As you can see, we’re no longer requesting the pod IP address (which is still 10.1.134.84 and not accessible outside of the Kubernetes cluster), but instead we’re using one of the Kubernetes node’s IP address. You can try this in your browser too and you should be able to see the contents of the WordPress readme.html file.
However, if you try to load the homepage, you’ll see an “Error establising a database connection” message, so we’ll tackle that next.
Adding a MySQL/MariaDB database
WordPress requires a MySQL-compatible database to run. In this tutorial we’ll mostly be using MariaDB, but MySQL, Percona and others will usually work out of the box as well. For simplicity, we’ll add a MariaDB container to the same Pod that’s running our WordPress container.
Let’s edit our pod.yml file and add a new entry to the containers section on the same level as our wordpress container:
  - name: mariadb
    image: mariadb:10.11
    ports:
    - containerPort: 3306
    env:
    - name: MARIADB_DATABASE
      value: wordpress
    - name: MARIADB_USER
      value: wordpress
    - name: MARIADB_PASSWORD
      value: secret
    - name: MARIADB_RANDOM_ROOT_PASSWORD
      value: verysecret
In addition to the container name, image and port definitions, this container will also have some environment variables defined in the env section. They’re pretty self-explanatory, and are required for the MariaDB container to initialize a database for us using these credentials. We’ll hard-code our credentials here for now, and later move them to a proper Kubernetes Secret and ConfigMap for better security and ease of management.
Now that we’ve defined a MariaDB container, let’s go back to our WordPress container and tell it where to find the database and which credentials to use. We can do this using environment variables as well, so our WordPress container definition will look as follows:
  - name: wordpress
    image: wordpress:6.4-apache
    ports:
    - containerPort: 80
    env:
    - name: WORDPRESS_DB_HOST
      value: 127.0.0.1
    - name: WORDPRESS_DB_USER
      value: wordpress
    - name: WORDPRESS_DB_NAME
      value: wordpress
    - name: WORDPRESS_DB_PASSWORD
      value: secret
Note that we’re using 127.0.0.1 as our WordPress database host, which tells the WordPress container to look for the database service in the same Kubernetes Pod, under the default MySQL/MariaDB port of 3306. You can normally use localhost in many cases for inter-pod communication, however in PHP’s MySQL driver, localhost has a special meaning which will cause it to connect via a Unix socket instead, which we do not have, so we need to explicitly use the localhost IP address to force a TCP connection.
Again, in future sections we’ll move the database credentials out into Kubernetes ConfigMaps and Secrets, but for simplicity these can temporarily live in plain text in our manifest files.
Before you can apply this new manifest file in your Kubernetes cluster, you’ll need to delete the old running WordPress pod:
$ kubectl delete pod wordpress
$ kubectl apply -f pod.yml
pod/wordpress created
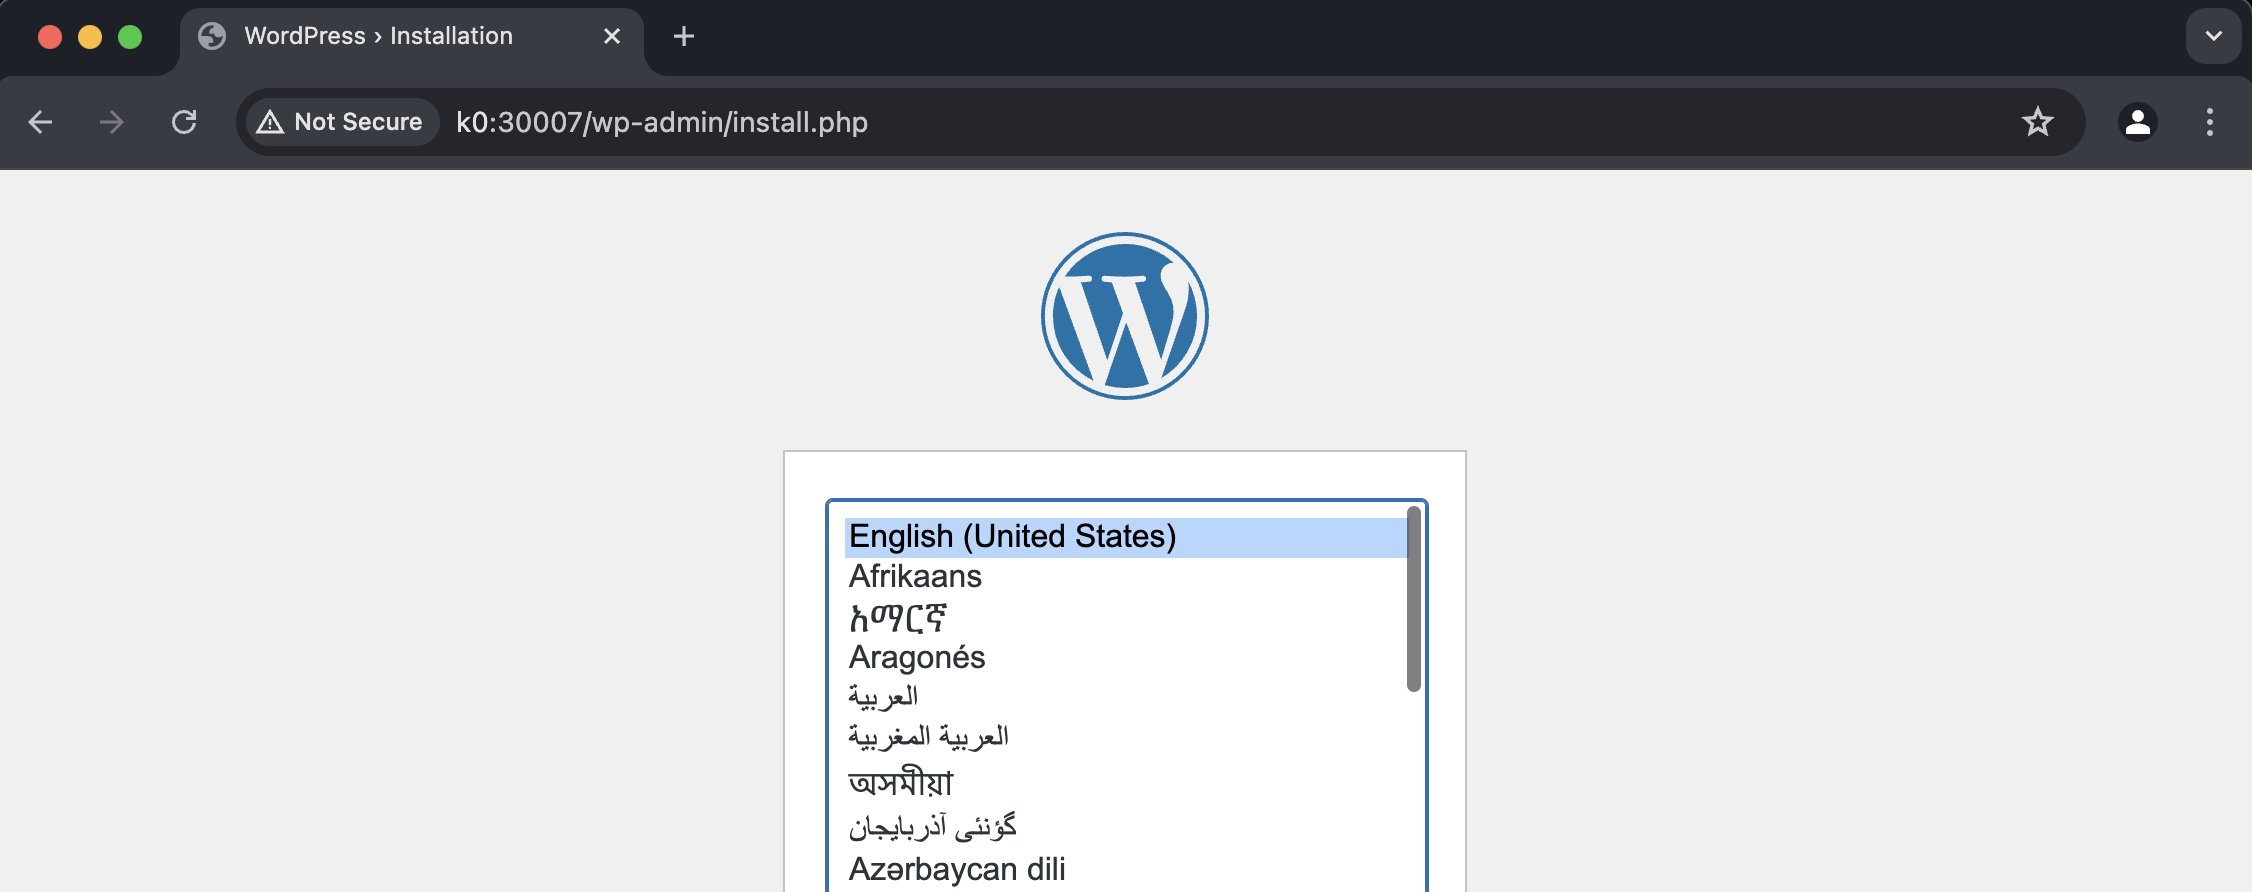
Now, navigate your browser to any node IP address and the service NodePort you’ve define, for example http://10.0.10.120:30007 or http://k0:30007 in our case (the k1, and k2 hosts should also work), and you should be greeted with the famous WordPress installer. Pick a language, set your title and admin credentials, and log in to your brand new WordPress dashboard.
Congratulations! You’re now running WordPress in your Kubernetes cluster, but this is far from ideal.
This is just the beginning of your WordPress on Kubernetes journey. In the following sections you will learn how to add Volumes and Persistent Volume Claims in Kubernetes for data persistence, so that a Pod restart doesn’t destroy all your WordPress and MariaDB data. You’ll learn how to decouple the database container out into a separate pod and service for independent management. You’ll learn how to use Deployments and StatefulSets for container lifecycle management. You’ll learn how to transform WordPress into a stateless application for easier scaling and high availability. You will learn some better ways of getting traffic into your Kubernetes cluster with Load Balancers and Ingress controllers, and much much more.
Delete your pod and service (all data will be erased) with the following command:
$ kubectl delete -f pod.yml -f service.yml
pod "wordpress" deleted
service "wordpress" deleted
See you in the next section!