Now that our WordPress core files, plugins and themes are all stateless in the Kubernetes cluster, it’s time to look at our media library. In this section we’ll install and configure a MinIO object storage service, and configure our WordPress install to store and serve uploads using that service.
Note: all code samples from this section are available on GitHub.
Why MinIO?
Object storage is a great fit for media uploads. It’s usually cheap, redundant, scalable and doesn’t require low-latency IO as it’s usually not mounted as a filesystem (although it could be!).
S3 is the de-facto standard for object storage and most cloud providers will implement some level of compatibility with the S3 protocol. This means that most implementations can be used without (or with minimal) modifications across Amazon’s original S3, Google’s Cloud Storage, Azure’s Blob Storage, Digital Ocean’s Spaces, Cloudflare’s R2, including on-premise solutions, like Ceph Object Storage and MinIO.
MinIO is an S3-compatible object store. It will take some time and learning to properly set up a redundant and performant MinIO cluster, however if you’re just looking to get started, MinIO is by far the simplest option, making it perfect for our use case.
Running MinIO
To run MinIO in our Kubernetes cluster we’ll use a StatefulSet, a Secret and a couple of services. Our minio.secrets.yml manifest will hold our root username and password:
apiVersion: v1
kind: Secret
metadata:
  name: minio-secrets
stringData:
  MINIO_ROOT_USER: admin
  MINIO_ROOT_PASSWORD: password
MinIO has two built-in services – the main storage service, as well as a console service, which we can use to create buckets, access keys, etc. We’ll expose the console service over a NodePort so we can use a web browser to set things up.
The second service will only be available privately within the Kubernetes cluster. We’ll proxy to this service by its ClusterIP via Nginx.
Our minio.service.yml will look like this:
apiVersion: v1
kind: Service
metadata:
  name: minio-console
spec:
  type: NodePort
  ports:
  - port: 9001
    nodePort: 30008
  selector:
    app: minio
---
apiVersion: v1
kind: Service
metadata:
  name: minio
spec:
  ports:
  - port: 9000
  selector:
    app: minio
Finally, let’s create our minio.statefulset.yml manifest. Most of the contents should be quite familiar if you’ve read our previous sections.
apiVersion: apps/v1
kind: StatefulSet
metadata:
  name: minio
spec:
  selector:
    matchLabels:
      app: minio
  template:
    metadata:
      labels:
        app: minio
    spec:
      containers:
      - name: minio
        image: minio/minio:RELEASE.2024-06-29T01-20-47Z
        ports:
        - containerPort: 9000
        - containerPort: 9001
        command:
        - minio
        - server
        - /data
        - --console-address
        - :9001
        volumeMounts:
        - name: data
          mountPath: /data
        envFrom:
        - secretRef:
            name: minio-secrets

  volumeClaimTemplates:
  - metadata:
      name: data
    spec:
      accessModes:
      - ReadWriteOnce
      storageClassName: openebs-replicated
      resources:
        requests:
          storage: 1Gi

  persistentVolumeClaimRetentionPolicy:
    whenDeleted: Delete
    whenScaled: Delete
Note that we’re exposing two ports here, port 9000 for the main storage service, and 9001 for the console service, which should also match the console address specified in the command attribute.
We mount a volume called data into a /data directory, which should also match the path specified in our command. This volume is defined in our volumeClaimTemplates section with an openebs-replicated storage class. When deploying multiple instances of MinIO with replication, you may omit a replicated storage, but since in this case we only have a single pod, we’ll opt for the replicated OpenEBS block storage for some redundancy.
The username and password environment variables are passed on from the minio-secrets object defined earlier.
Let’s create our MinIO secrets, services and stateful set:
$ kubectl apply \
  -f minio.secrets.yml \
  -f minio.statefulset.yml \
  -f minio.service.yml
secret/minio-secrets created
statefulset.apps/minio created
service/minio-console created
service/minio created
Once the MinIO pod is up and running, point your browser to the NodePort defined (30008 in our case) on any node in your Kubernetes cluster, and you should be presented with a MinIO console login page:
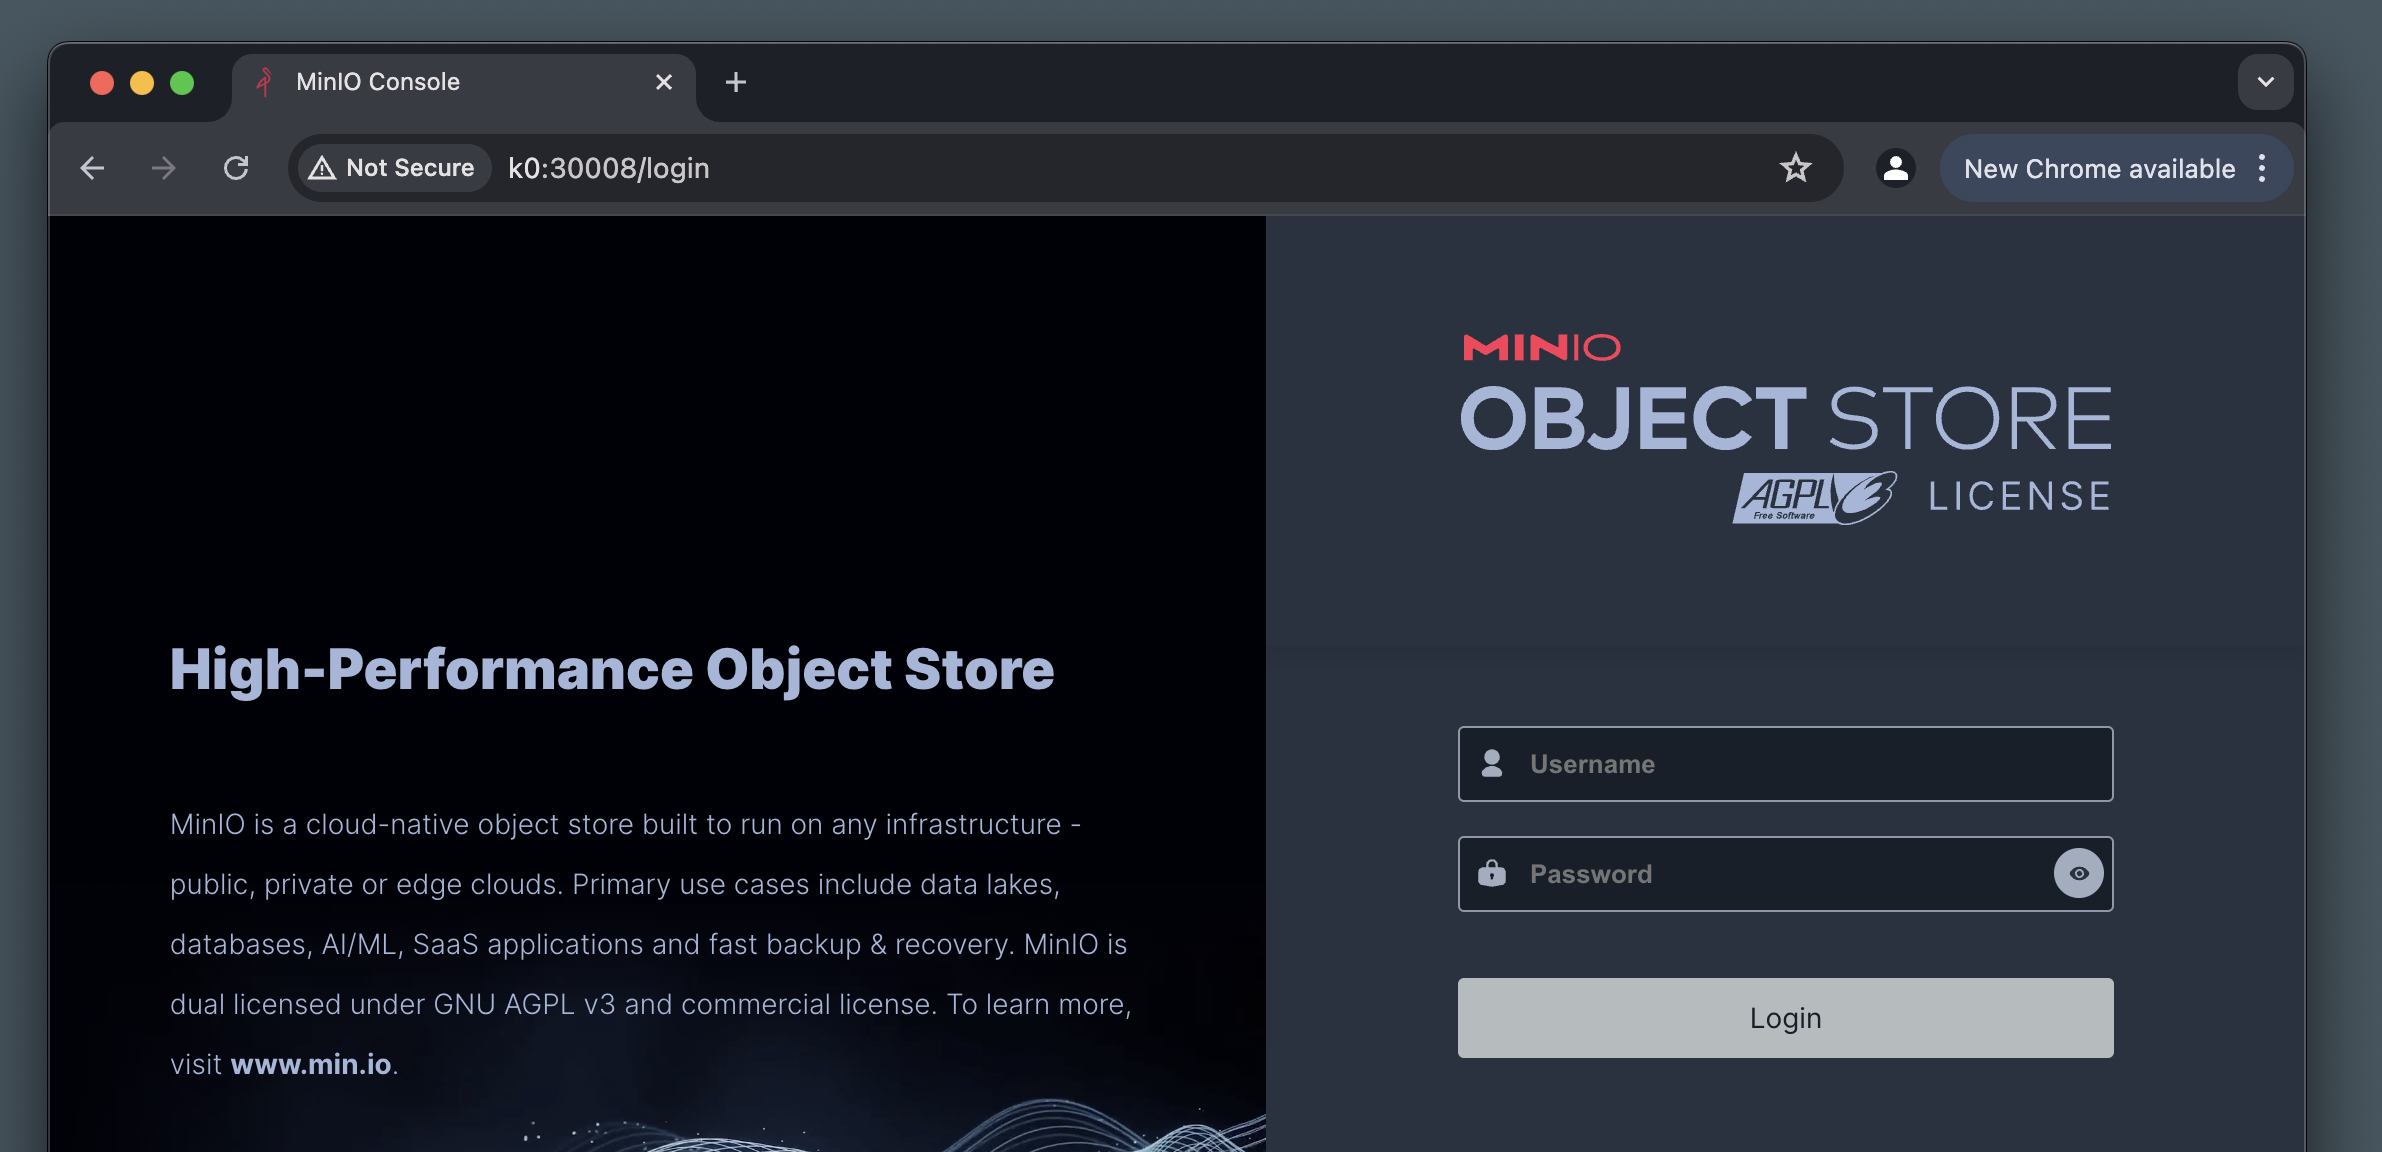
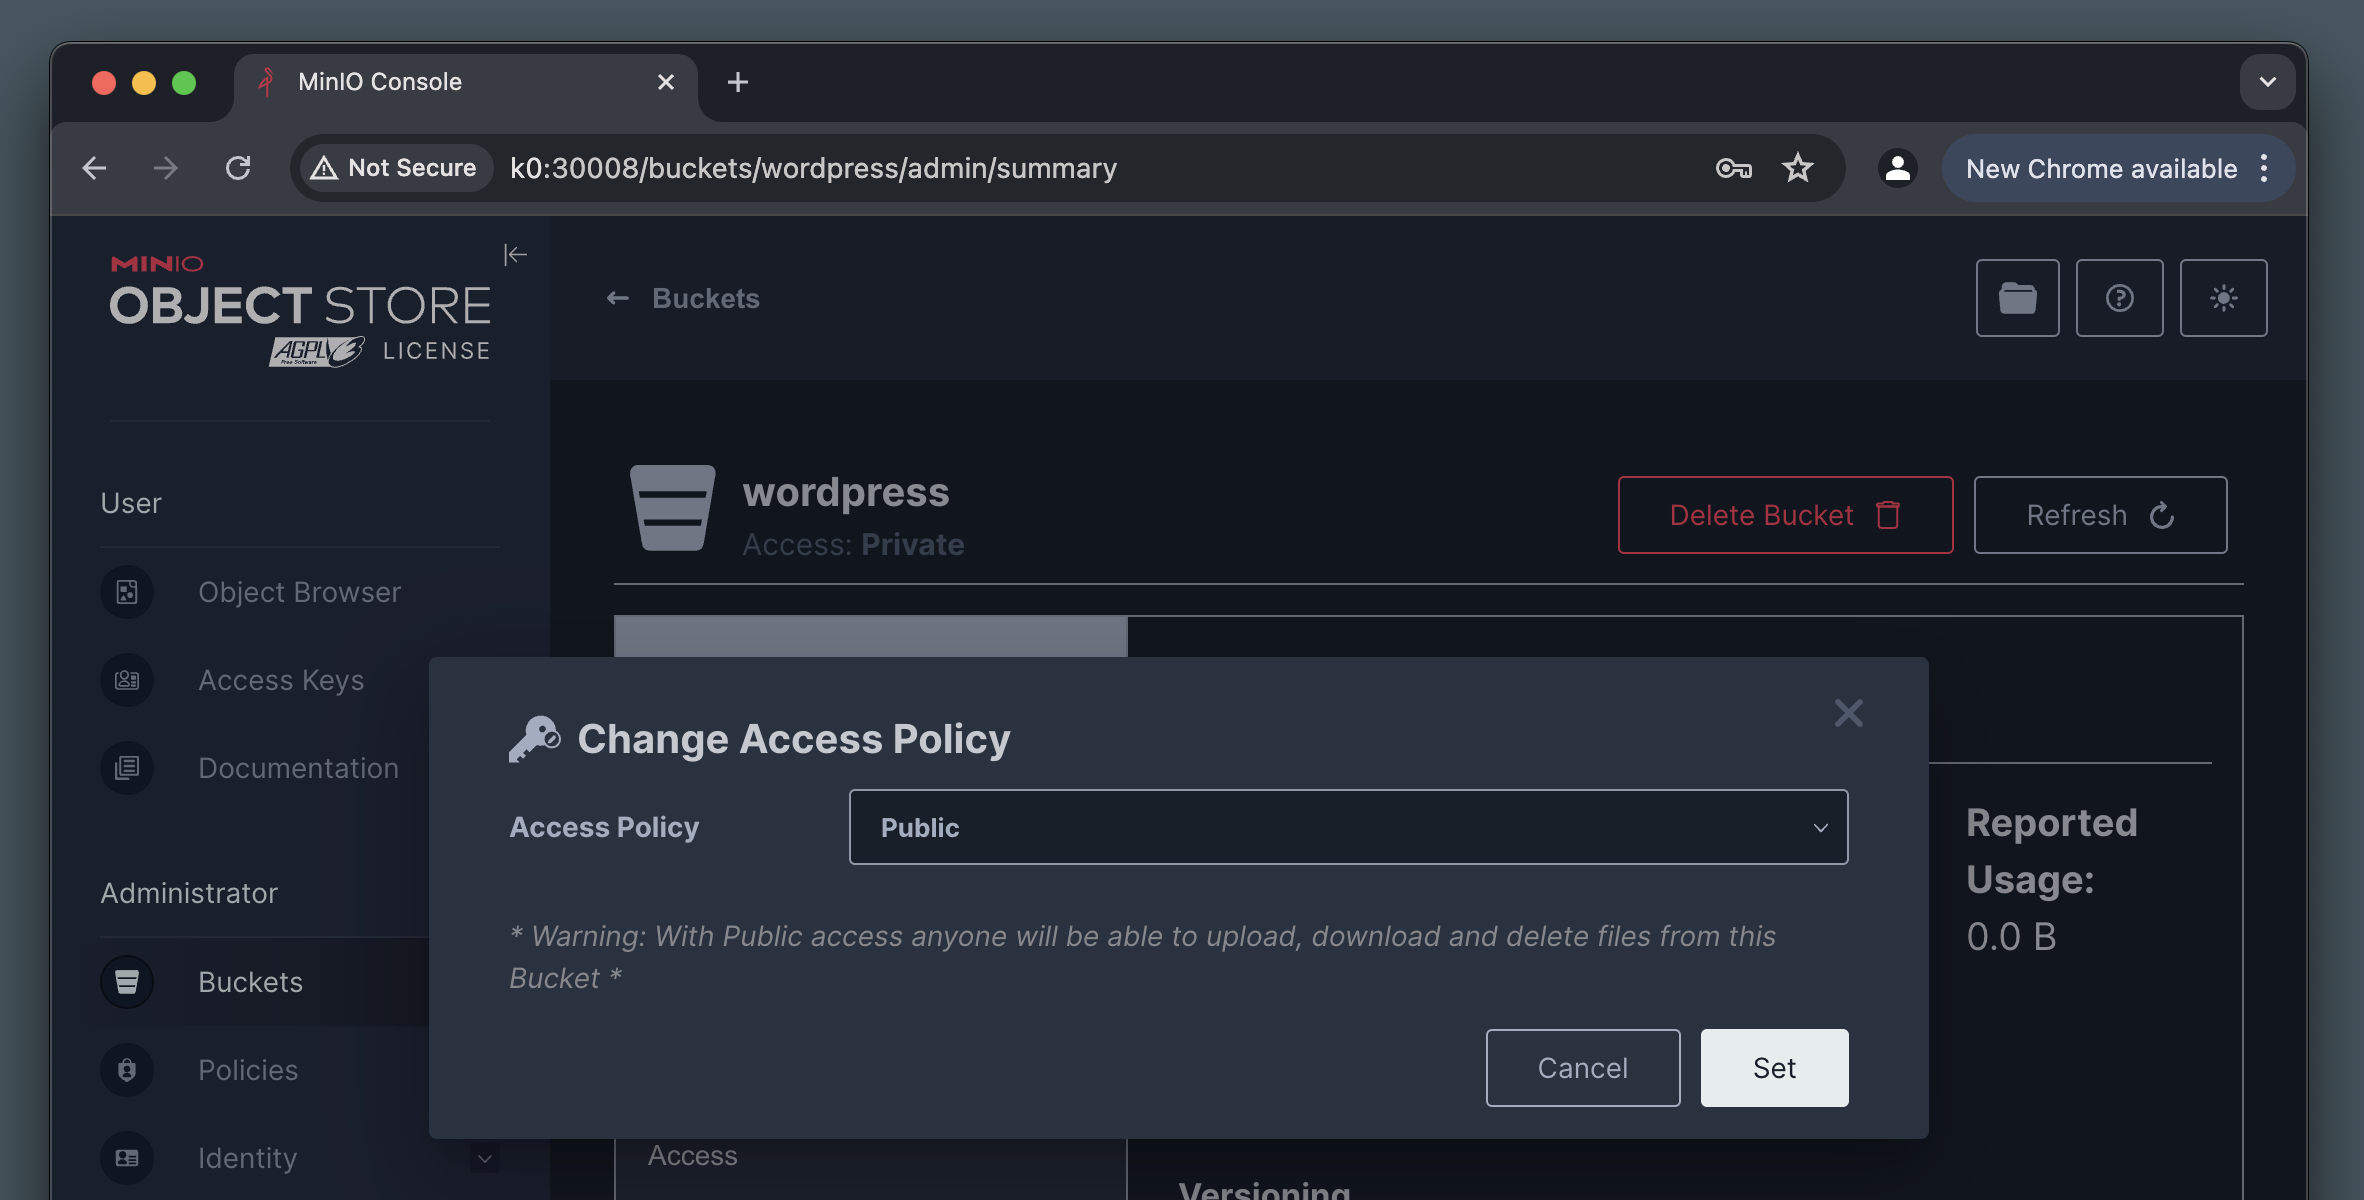
After logging in using the credentials provided in the MinIO Secret, go ahead and create a New Bucket called wordpress. This is where we’ll put media uploads, which have to be public, so right after creating the bucket, make sure it’s access policy is set to Public.
Finally, create a new Access Key from the Access Keys section in the MinIO console. Note down the Access Key and Access Secret values, as we will need these both when configuring our WordPress integration.
An access key created this way will have access to everything in this MinIO instance by default. If you’re planning to have more than one bucket, make sure you lock it down further using access policies.
MariaDB
If you haven’t deleted your MariaDB components from the previous section, feel free to skip this step. The manifests for our MariaDB secrets, stateful set and service will remain unchanged. Let’s make sure they’re running in our Kubernetes cluster:
$ kubectl apply \
  -f mariadb.secrets.yml \
  -f mariadb.statefulset.yml \
  -f mariadb.service.yml
secret/mariadb-secrets created
statefulset.apps/mariadb created
service/mariadb created

$ kubectl get pods
NAME        READY   STATUS    RESTARTS   AGE
mariadb-0   1/1     Running   0          24s
minio-0     1/1     Running   0          17m
Now that our MariaDB database is up and running, and our MinIO storage is configured, let’s get our WordPress deployment to store uploaded media in our new bucket.
S3 Uploads for WordPress
The are quite a few plugins and solutions to offload WordPress media to an S3-compatible storage. Our favorite is S3 Uploads by Human Made, which does require some configuration and additional filtering to make it work with S3-compatible storage outside of AWS. You’ll also need to jump through some hoops given its Composer dependancy, but once you get past that it’ll work like a charm!
Our WordPress deployment will also mostly be unchanged. We do, however need to add the S3 Uploads plugin to our Git repository. Additionally, we’ll need to add a few constants to make it work, as well as provide a couple of filters to work with our MinIO configuration.
Let’s jump to our Git repository and add the plugin. If you’re comfortable using Composer, you can follow the instructions in the repository to add it to your project. If you don’t want to use Composer, there is a pre-packaged manual-install.zip version which we’re going to use:
$ cd wp-content/plugins
$ mkdir s3-uploads && cd s3-uploads
$ wget https://github.com/humanmade/S3-Uploads/releases/download/3.0.7/manual-install.zip
$ unzip manual-install.zip && rm manual-install.zip
$ git add .
$ git commit -m "Add the s3-uploads plugin"
$ git push
In addition to the plugin itself, we’ll need to add a couple of WordPress filters to make sure the correct S3 endpoint is used, and that the resulting public URLs in WordPress are accurate. We’ll create a mu-plugin for these two filters:
<?php
add_filter( 's3_uploads_s3_client_params', function( $params ) {
	$params['endpoint'] = 'http://minio:9000';
	$params['use_path_style_endpoint'] = true;
	return $params;
} );

add_filter( 's3_uploads_bucket_url', function( $url ) {
	return content_url();
} );
Note that we’re using the internal minio service name, which will resolve to the correct ClusterIP in Kubernetes, as well as the internal port 9000 which is only available from within the cluster. Default AWS S3 URLs contain the bucket name as a subdomain, which is why we have to change that to paths instead with the use_path_style_endpoint parameter.
On the output by default the S3 Uploads plugin will replace all our uploaded media with their corresponding S3 URLs, which come in the form of bucket.s3.amazonaws.com. We’ll be doing our own proxying to our MinIO service, so with the second filter we overwrite that to return the original content URL, such as k0:30007/wp-content.
Let’s save this plugin to wp-content/mu-plugins/s3-uploads-config.php in our repository, commit and push the file to GitHub.
The last couple of changes need to be done in our WordPress ConfigMaps, we’ll need to add a few more S3 related constants to the WORDPRESS_CONFIG_EXTRA env var in wordpress.configmap.yml:
apiVersion: v1
kind: ConfigMap
metadata:
  name: wordpress-env
data:
  WORDPRESS_DB_HOST: mariadb
  WORDPRESS_DB_USER: wordpress
  WORDPRESS_DB_NAME: wordpress
  WORDPRESS_CONFIG_EXTRA: |
    define( 'WP_AUTO_UPDATE_CORE', true );
    define( 'DISALLOW_FILE_EDIT', true );
    define( 'DISALLOW_FILE_MODS', true );

    define( 'S3_UPLOADS_BUCKET', 'wordpress' );
    define( 'S3_UPLOADS_REGION', 'world' );
    define( 'S3_UPLOADS_KEY', 'DalYoW1pTih3IxQHTgsr' );
    define( 'S3_UPLOADS_SECRET', 'BiW11rLUrUWwFf4LYstcs7CqxWmzQNw1zaUD6UIS' );
Make sure you use the correct bucket name (wordpress in our case) and the access key and secret you’ve copied from the MinIO console earlier. The region constant is not really used with our MinIO setup, but it can’t be empty either.
Next, we’ll need an updated Nginx configuration, to make sure we can serve the uploaded media files from MinIO. To achieve this, we’ll add a new location block with a proxy_pass to the MinIO service in our wordpress.configmap.yml manifest:
apiVersion: v1
kind: ConfigMap
metadata:
  name: wordpress-nginx
data:
  wordpress.conf: |
    server {
      listen 80 default_server;
      server_name _;
      root /var/www/html;
      index index.php index.html;

      location / {
        try_files $uri $uri/ /index.php?$args;
      }

      location /wp-content/uploads {
        rewrite ^/wp-content/(.+) /wordpress/$1 break;
        proxy_pass http://minio:9000;
      }

      location ~ \.php$ {
        include fastcgi_params;
        fastcgi_param SCRIPT_FILENAME $document_root$fastcgi_script_name;
        fastcgi_pass 127.0.0.1:9000;
      }
    }
This new location block will match all traffic going to /wp-content/uploads and send it over to the minio service (which will resolve to the correct ClusterIP in our Kubernetes cluster) over port 9000 using Nginx’s proxy_pass.
Furthermore, because MinIO does not know what wp-content is, we’ll need to strip that part with a rewrite directive, as well as add our bucket name wordpress. This transforms a URL such as:
http://k0:30007/wp-content/uploads/2024/07/foo.png
To the following MinIO request:
http://minio:9000/wordpress/uploads/2024/07/foo.png
Of course the minio service over port 9000 is completely internal to the cluster (though can be exposed as a NodePort if you like!).
WordPress Deployment
At this stage everything should be ready to go.
We’ve got our MinIO and MariaDB services running. We have the S3 Uploads plugin and some required filtering committed to our application codebase on GitHub. We have our S3 constants configured in a ConfigMap, and we have our proxying set up in our Nginx configuration in another ConfigMap.
Let’s create our WordPress ConfigMaps, Secrets and Service:
$ kubectl apply \
  -f wordpress.configmap.yml \
  -f wordpress.secrets.yml \
  -f wordpress.service.yml
configmap/wordpress-nginx created
configmap/wordpress-env created
secret/wordpress-secrets created
secret/wordpress-dotssh created
service/wordpress created
Let’s finally create our WordPress deployment, unaltered from our previous section. Do make sure you’re deploying the correct Git hash or branch though:
$ kubectl apply -f wordpress.deployment.yml
deployment.apps/wordpress created

$ kubectl get pods
NAME                         READY   STATUS    RESTARTS   AGE
mariadb-0                    1/1     Running   0          50m
minio-0                      1/1     Running   0          67m
wordpress-58dfb88d99-4txss   2/2     Running   0          9s
To troubleshoot, use kubectl describe and kubectl logs with the pod name and an optional -c container_name if necessary. This may reveal useful error messages about why a pod is failing to start, or useful messages directly from the PHP error log in the WordPress container.
Point your browser to the WordPress service NodePort, run through the installation steps if necessary. Login to the WordPress Dashboard and activate the S3 Uploads plugin.
Navigate to the Media Library and upload an image. If everything was set up correctly, the upload should be successful.
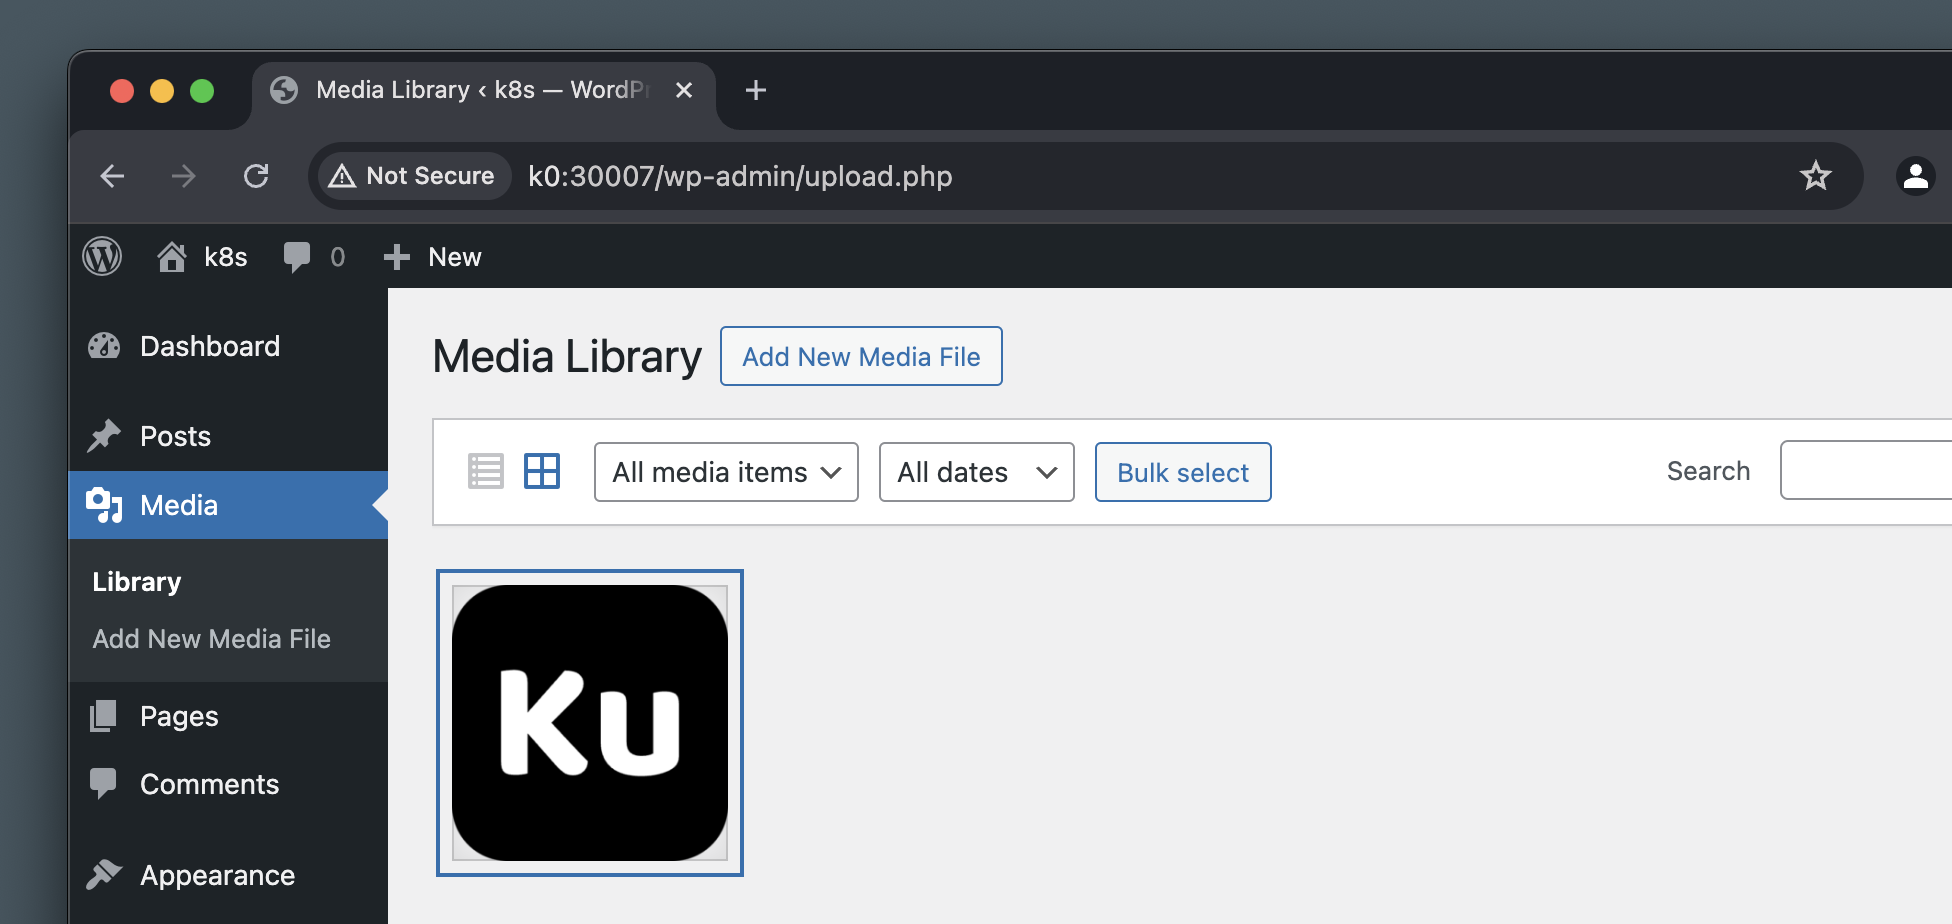
This alone however doesn’t tell us whether the image actually landed in our MinIO bucket, and not just being served from our WordPress pod.
Let’s verify that there’s still no uploads directory in our WordPress pod:
$ kubectl exec -it wordpress-58dfb88d99-4txss -c wordpress -- bash
root@wordpress-58dfb88d99-4txss:/var/www/html# ls wp-content
index.php  mu-plugins  plugins  themes
We can also verify that the image is in our MinIO bucket by looking for it in the MinIO Console:
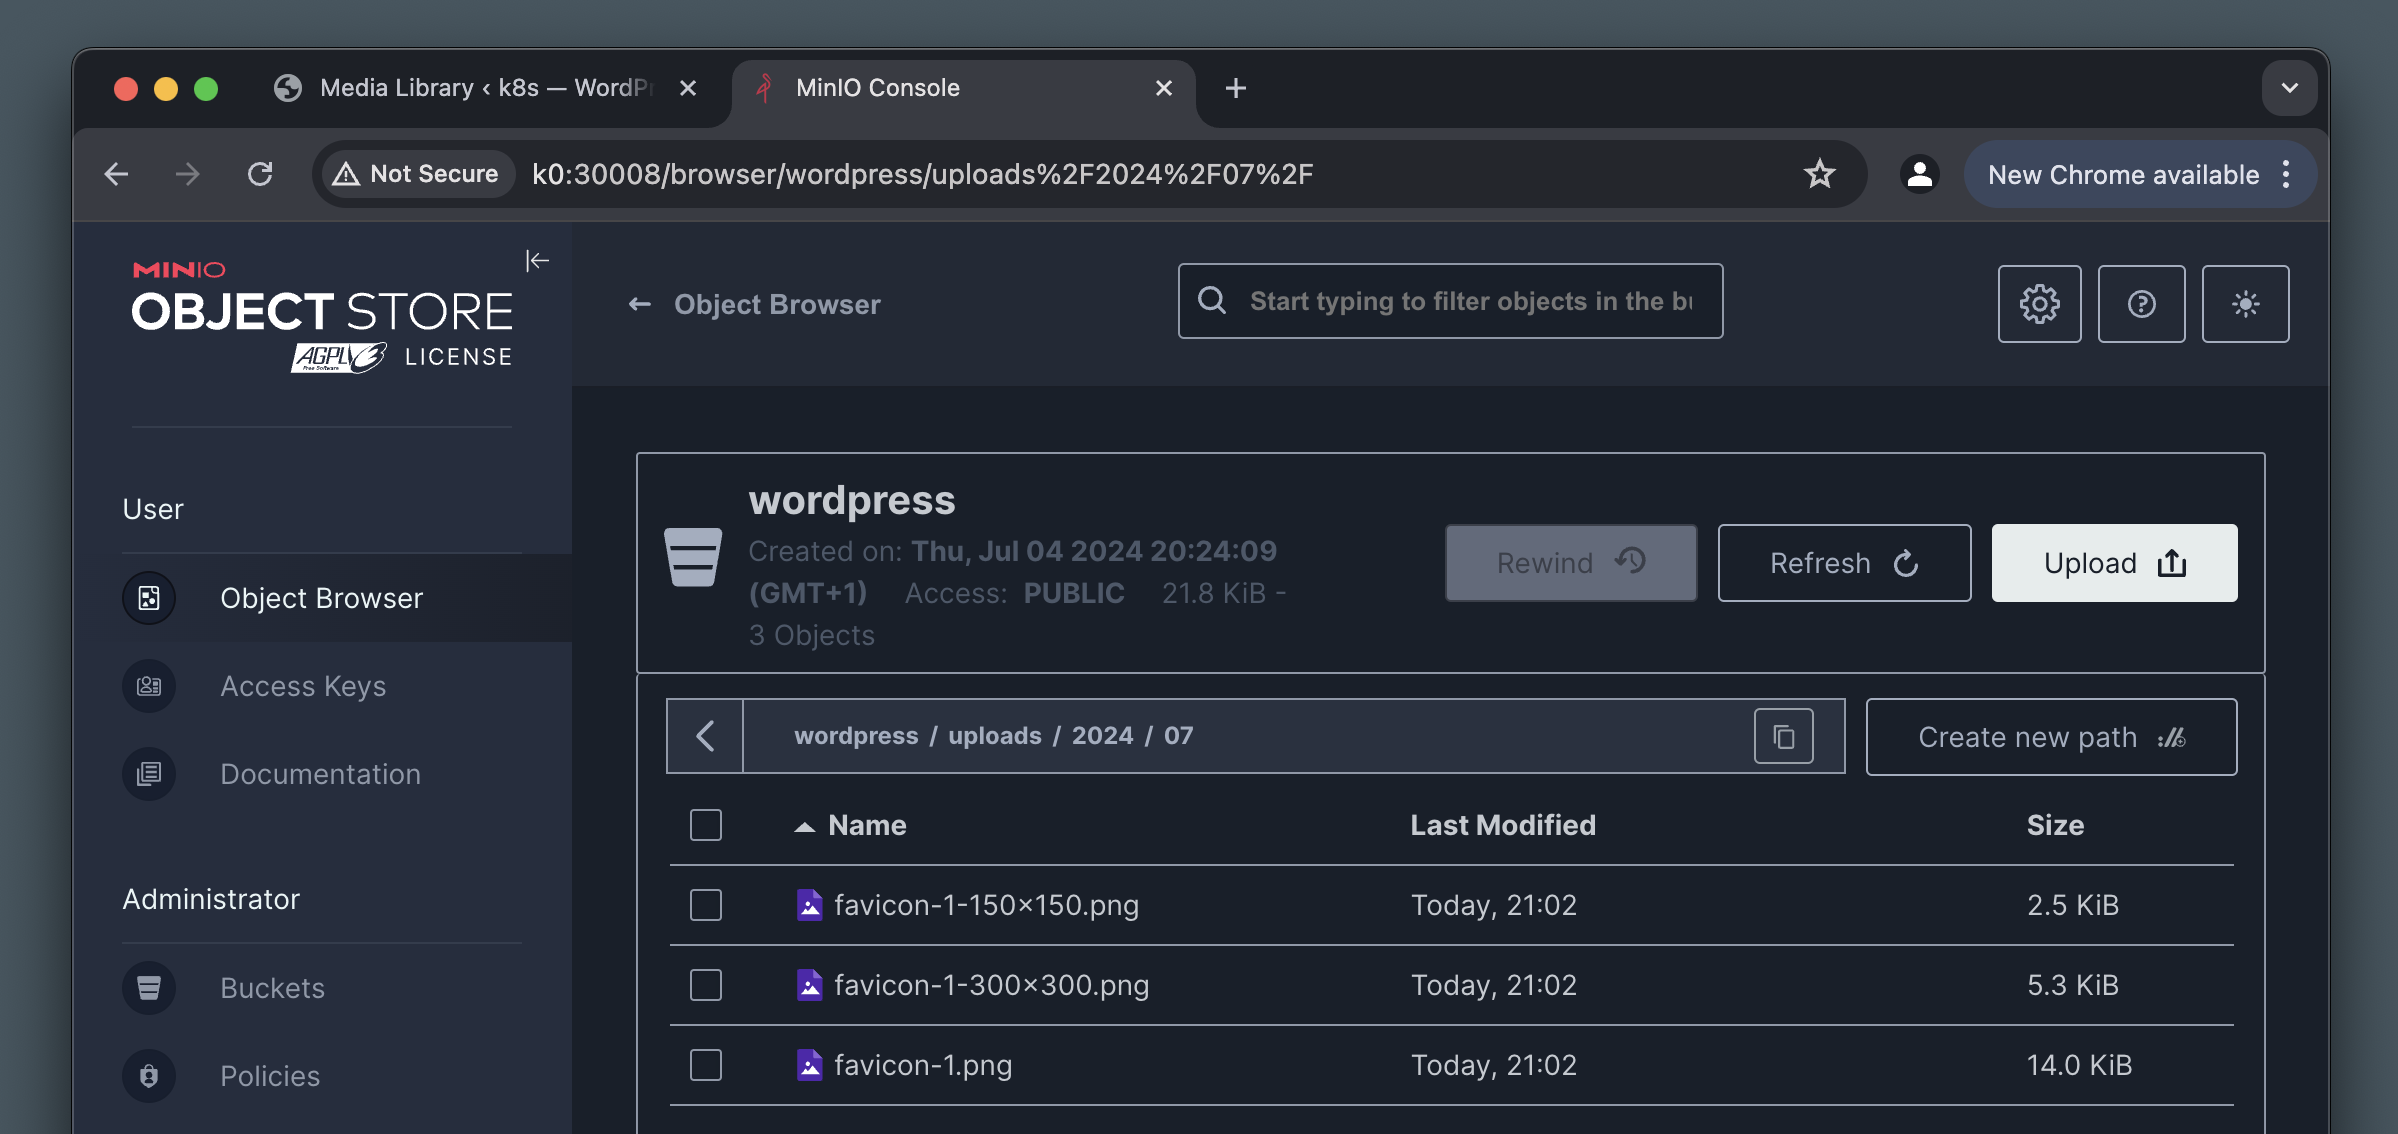
Finally, if you can access the image via HTTP on the WordPress service by its regular URL, that means our proxy/rewrite in Nginx is also working correctly.
What’s next?
In this section we’ve followed up on our previous work of removing state from WordPress. We focused on the Media Library this time, and used a MinIO bucket to hold our media uploads.
We’ve configured the S3 Uploads plugin to work with our MinIO service, and we’ve also set up Nginx to proxy requests to MinIO. Finally, we’ve verified that an uploaded image indeed lands in our MinIO bucket, and is nowhere to be found on the WordPress pod itself, confirming its statelessness.
We’ve been doing all this work of moving state around, to ultimately be able to run more than one WordPress replica reliably. Let’s do that next!